It's All Greek to Me - Part Two
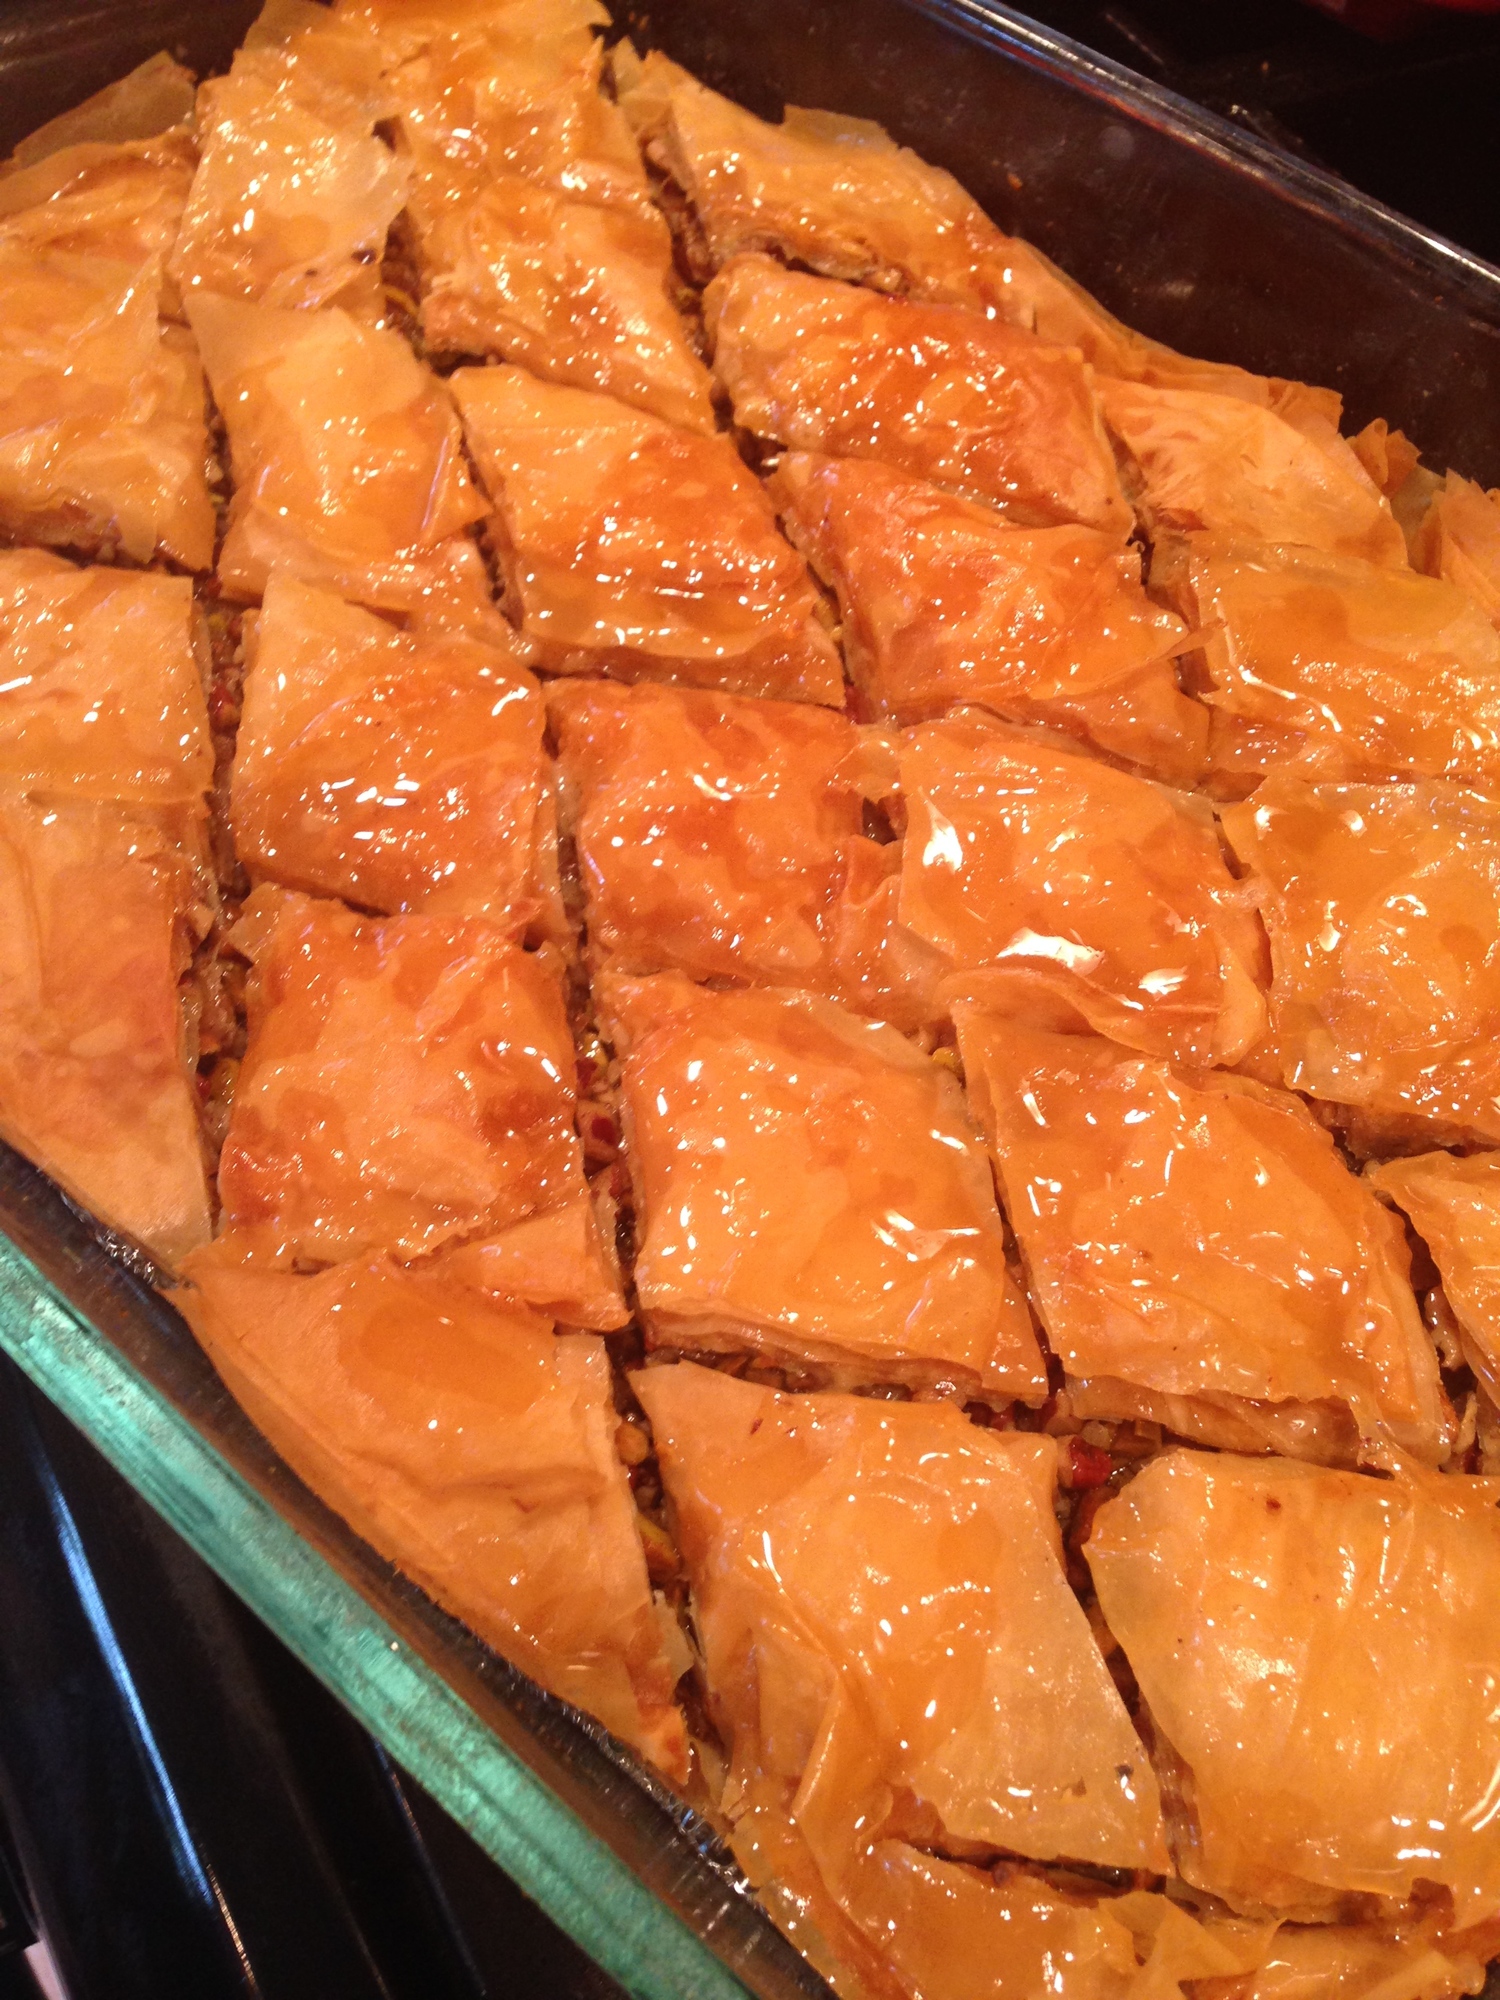
So in the previous post, we covered the baklava, which was just one part of the Greek-inspired meal I had planned for a friend's birthday celebration.
The other menu item I was eager to try was homemade pita bread. It had always seemed way too complicated and just easier to buy at the grocery store. Now, I've successfully made other kinds of bread many times before, but this had that whole mysterious air-pocket-in-the-middle thing going on. But I ventured forth, confident that it would at least be edible (especially once slathered in hummus) even if it didn't make that magical air pocket.
The ingredients for pita bread are about as simple as they come: flour, water, yeast, salt and olive oil. That's it. And the techniques for mixing and kneading the dough were all standard and echoed the instructions I learned from the "bread camp" I attended at King Arthur Flour two summers ago. I kept going through the recipe and the steps waiting to find that special technique or secret step that would transform these little balls of dough into pita bread.
Well, it turns out there's no secret ingredient or technique. The magic is all in the science and chemistry of baking. I found this recipe from one of my go-to blogs TheKitchn, and they describe this magic the best:
What makes [pita] puff so impressively is the dual action of water turning to steam and the yeast becoming hyperactive when both are hit with the heat from the oven or stovetop. The pita has been rolled so thin that this action forces the top and the bottom of the dough to separate and balloon outwards.
Reading this description, it totally makes sense and sounds really cool. But guys, wait until you see this in action. In your own oven. I mean, turn on that oven light, call the kids (or the kids at heart), pop a squat and watch these discs of dough transform right before your eyes, all in less than three minutes. When my first batch puffed up perfectly, I was truly giddy with delight. I had done it! I was a sorceress of the kitchen! (In reality, I had just followed directions and let chemistry do it's thing, but I still felt triumphant.) It was at this point that my guests arrived, and they too, were completely enamored with how the pita puffed up in the oven with the subsequent batches.
So excitement of the process aside, these pita breads continued to wow once we took a bite. By baking them in the oven on a baking stone, they get a nice crispy crust on the bottom, with the rest of the bread soft and pillowy. The hints of olive oil and salt make these delicious on their own but also serve as the perfect platform to load up on hummus, chicken or whatever else you want. They really were so easy to make that I may never buy store-bought pita bread again.
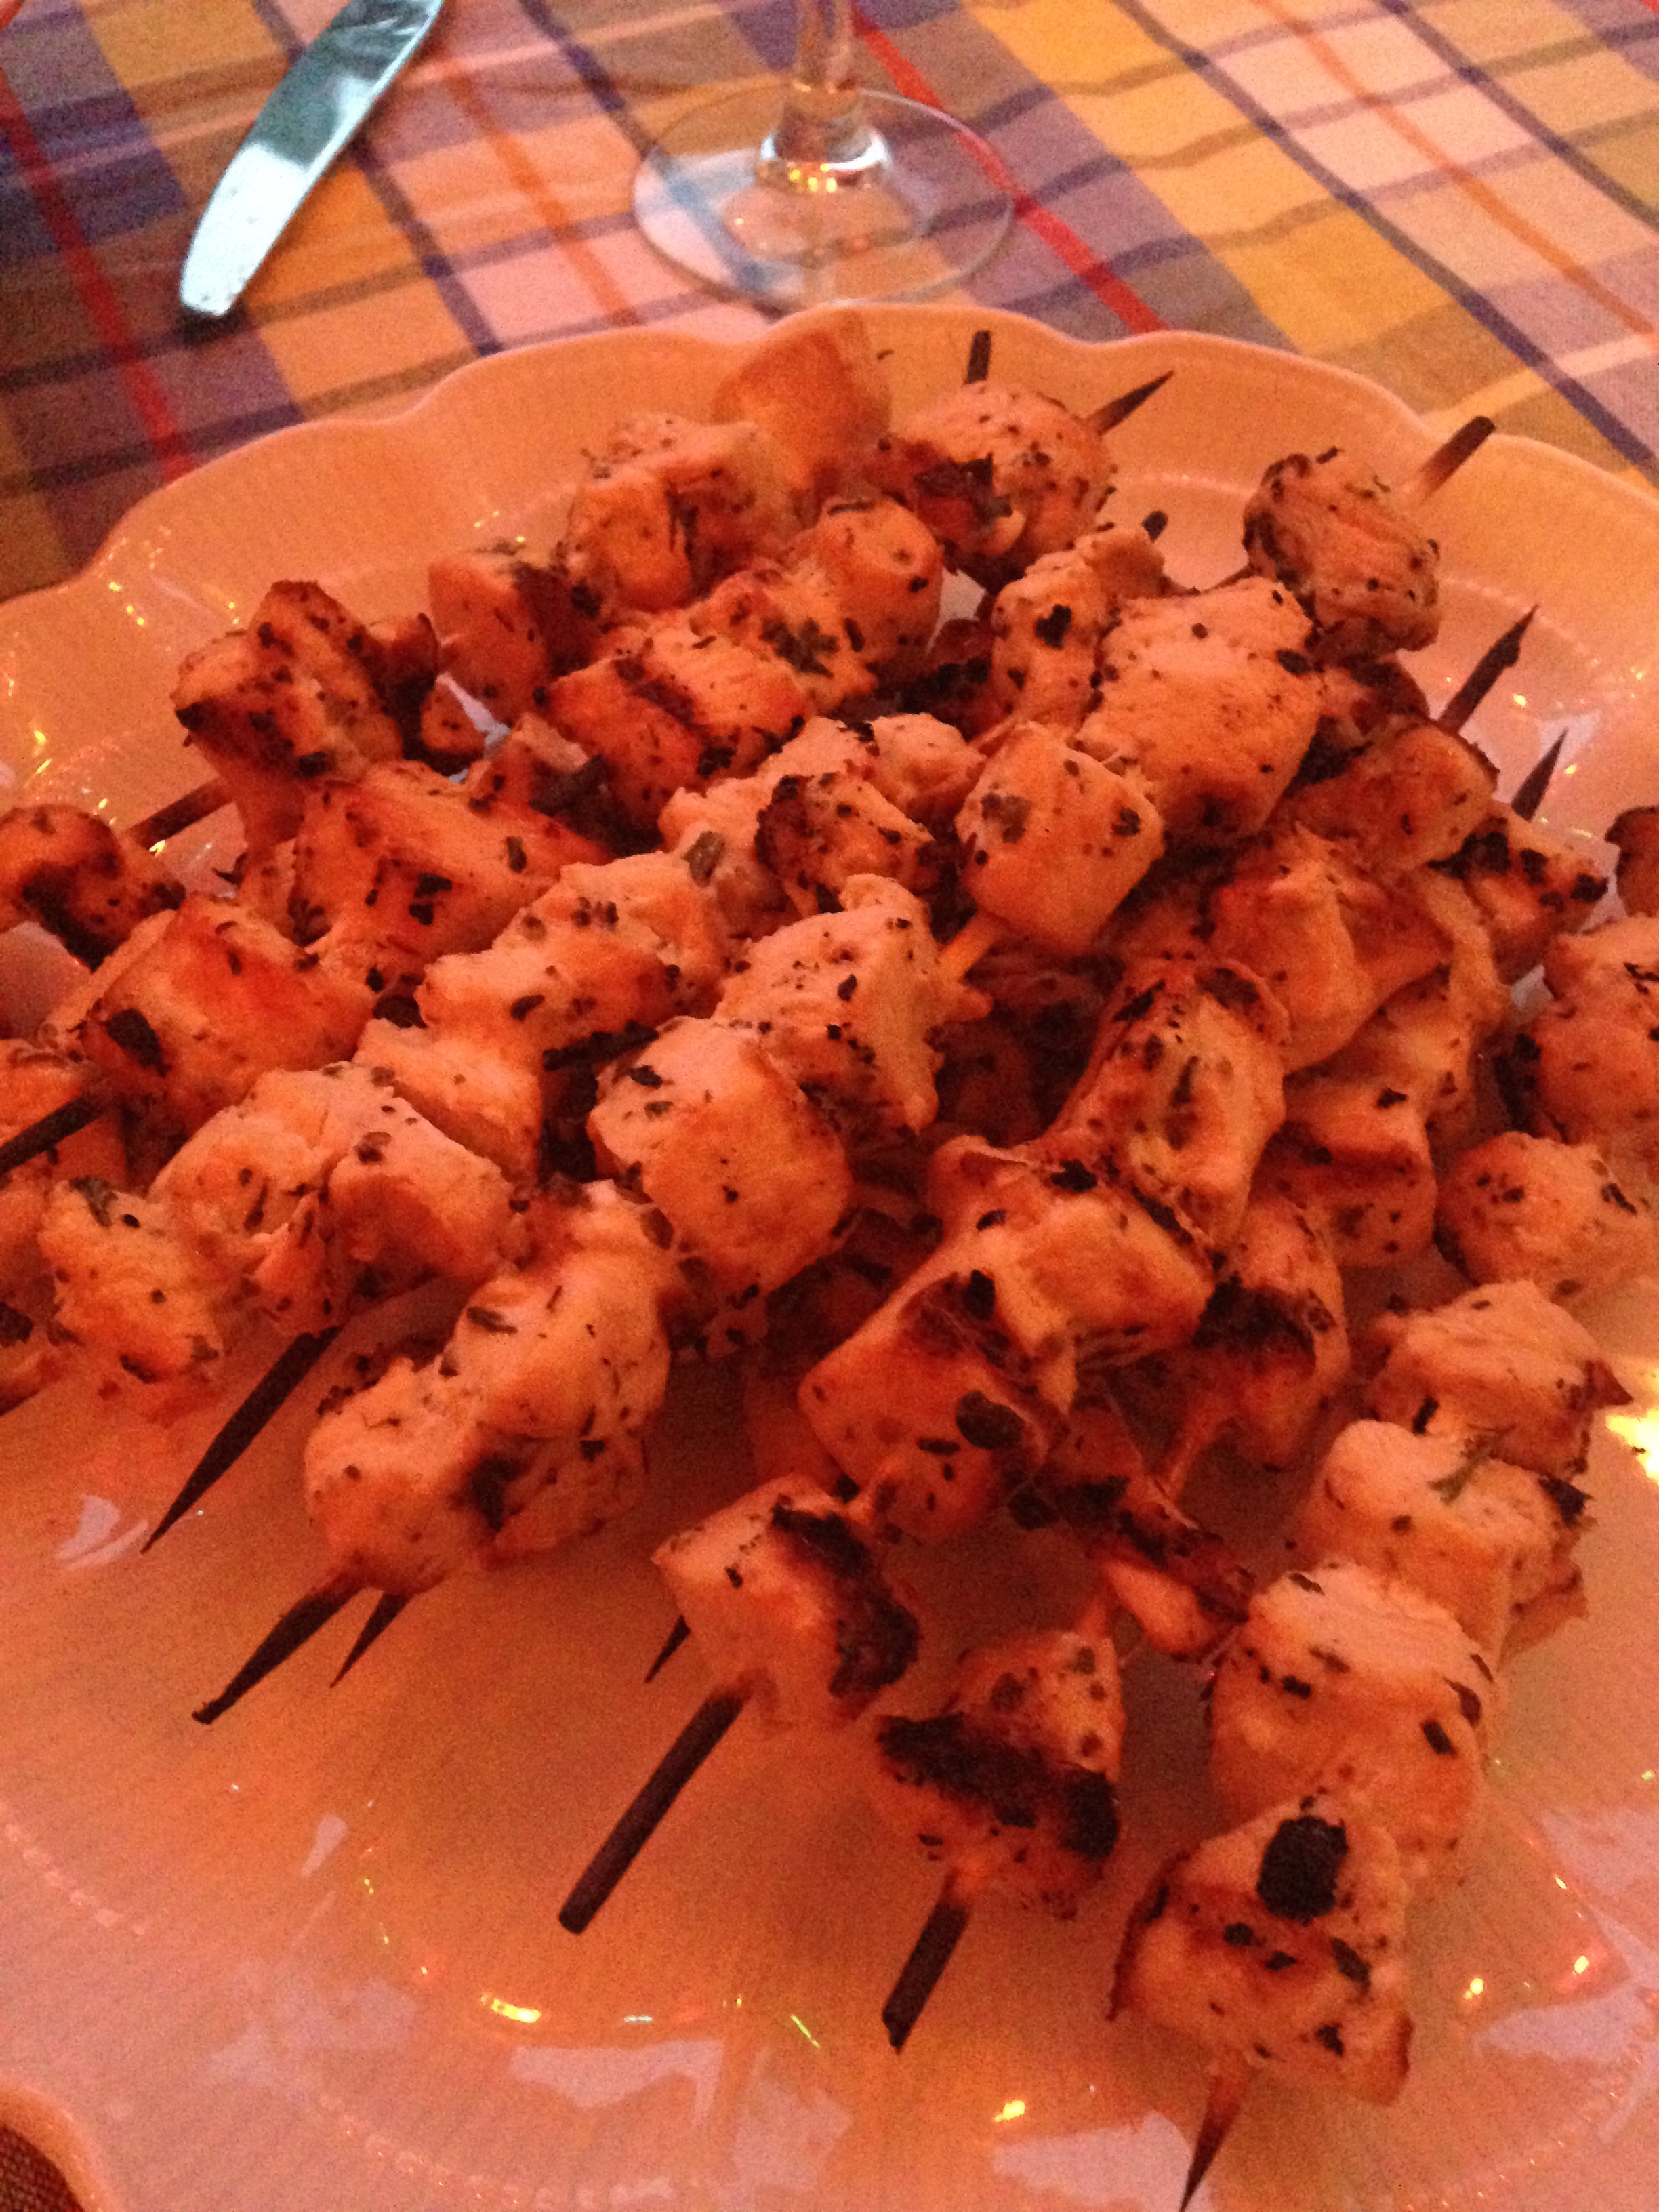
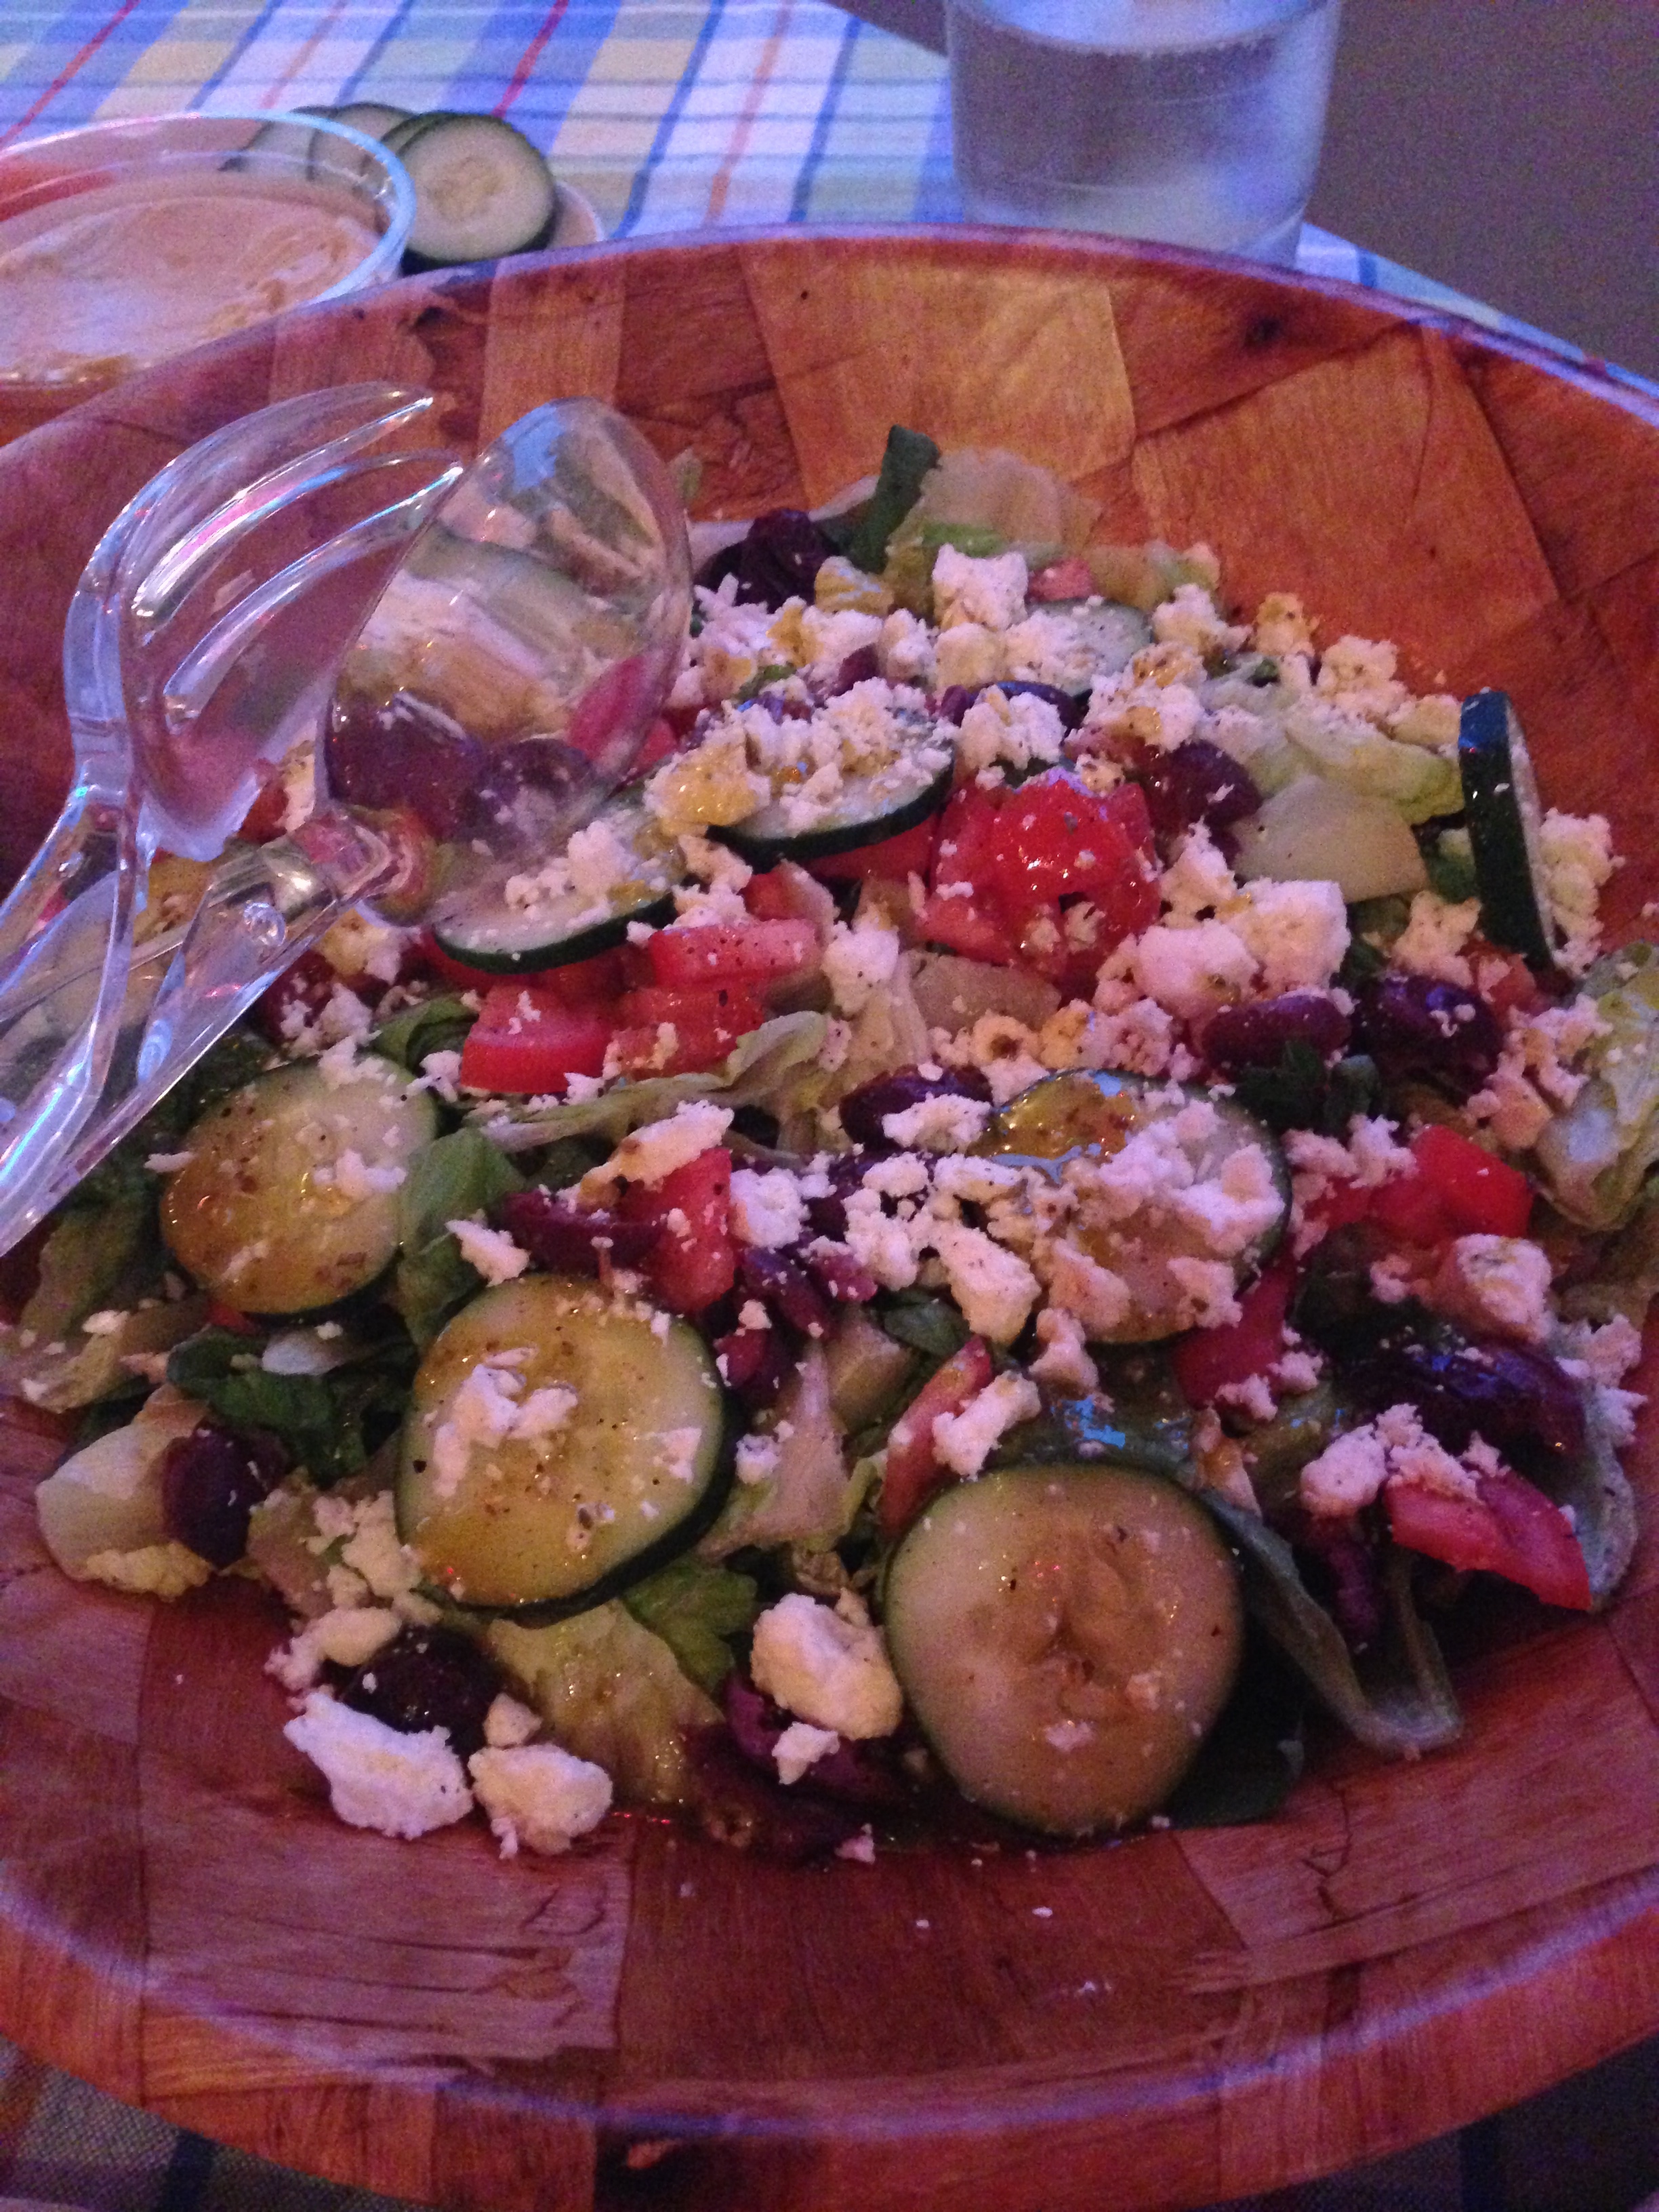
To complement the pita bread, I made chicken souvlaki (chicken marinated in olive oil, red wine vinegar, oregano, basil, parsley, garlic, salt and pepper) and a Greek salad (lettuce greens with tomato, cucumber, kalamata olives and feta cheese). O-YUM-G!
HOMEMADE PITA BREAD
- 1 cup warm water
- 2 tsp active or instant yeast
- 2 1/2 - 3 cups flour
- 2 tsp salt
- 1-2 tsp olive oil
In a large bowl, mix yeast and water. Let sit 5 minutes or until yeast is dissolved. Add 2 1/2 cups of flour (reserve the extra 1/2 cup for use when kneading), salt and olive oil. Mix until a shaggy dough is formed.
Sprinkle some of the reserved flour onto a clean work surface. Scrape out the dough onto the work surface, setting the bowl aside, and knead for 5-7 minutes, until dough is smooth and elastic. Use only enough flour to keep your the dough from sticking to your hands and work surface. Return dough to the bowl and cover with lid or plastic wrap. Let the dough rise in a warm, draft-free spot for 1-2 hours or until dough has doubled in size.
Preheat your oven 450 degrees. If you have a baking stone, place in the oven as you pre-heat. If you don't, place a large baking sheet on the middle rack to heat. Once the dough has risen, sprinkle some flour onto a clean work surface. Gently deflate the dough and turn out onto your work area. Divide the dough into 8-10 pieces. With your hands, roll each piece of dough into a ball, then flatten. Using a rolling pin, roll out the balls of dough into thin, flat circles, about 5-7 inches in diameter and about 1/4 thick. You may have to turn and flip your circles periodically to keep from sticking to your work surface and rolling pin.
Once the oven is at temperature, place the rolled out circles of dough directly onto the baking stone (as many as will fit). Bake for 3-4 minutes. The pita will start to puff up after a minute or two and will be done when it's fully ballooned. Remove cooked pitas from oven and cover with a clean towel as you cook the remaining dough.
Pitas are best when eaten immediately after cooking. Can be kept in an airtight bag for several days or they can also be frozen with wax paper between the layers for up to three months.
Note: Sometimes you'll get pitas that won't puff up. Usually, that's because your oven wasn't hot enough. Make sure that you let your oven and baking stone get back up to temperature between batches after you've opened the oven. Even still, I had some pitas that didn't fully puff up. Don't worry, they're still just as delicious!
Yields 8-10 pita breads.
Recipe from TheKitchn


